3D printer temperature limits explained: nozzle, bed and chamber
How to calibrate z offset at printing temperature
A z offset set on a cold printer can be wrong by the time the bed reaches 110 °C. Probes drift with temperature and the frame grows as it heats. The fix is to calibrate and probe in the same thermal state you print in.
Published · Last verified
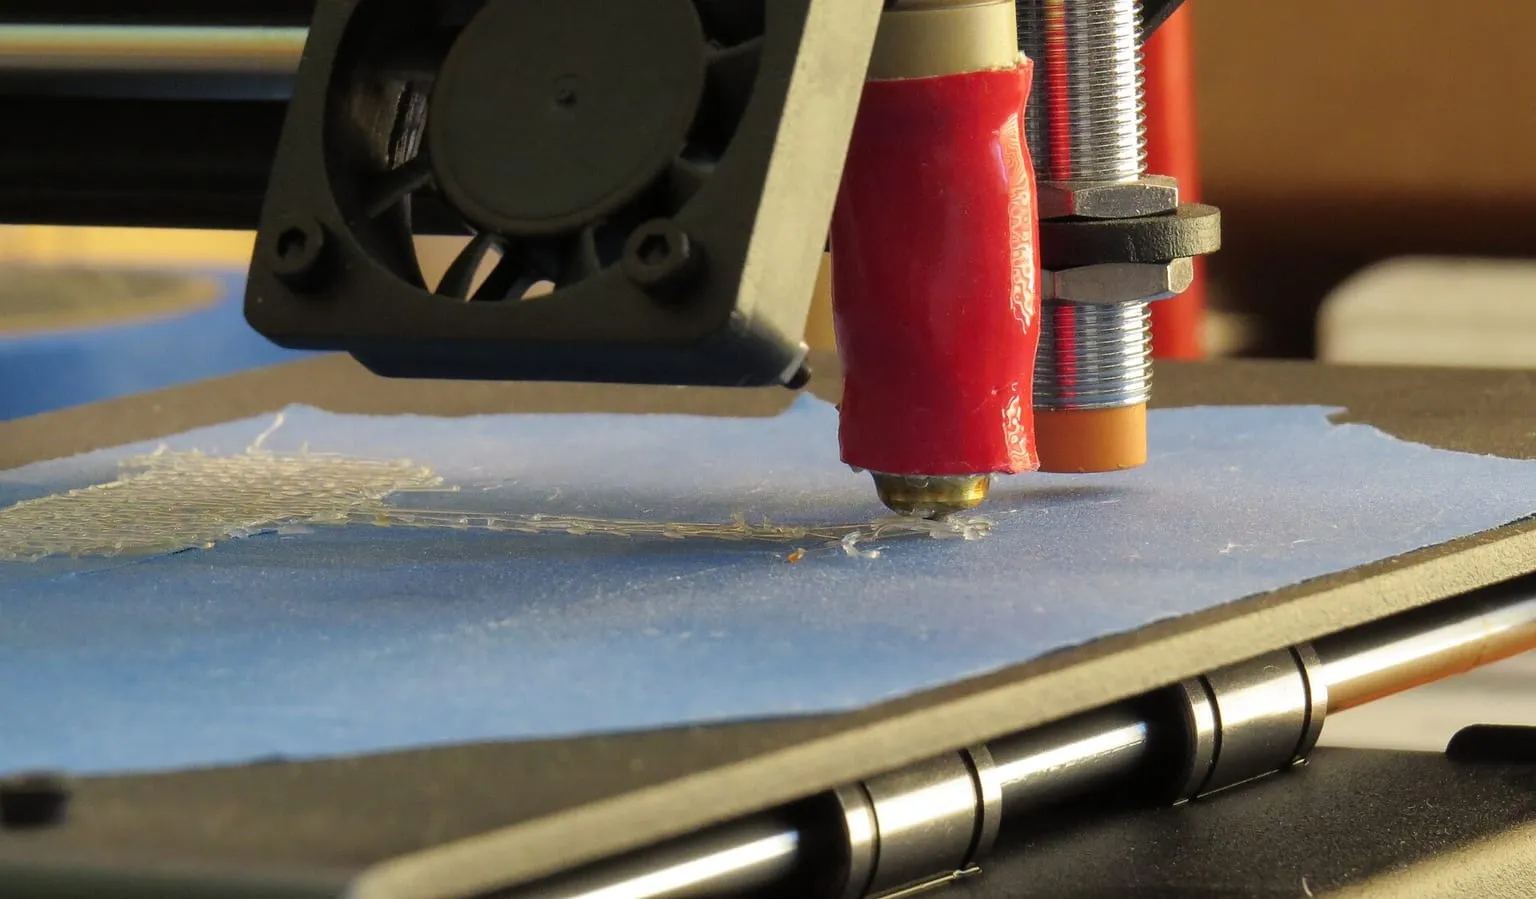
.jpg)
To calibrate z offset at printing temperature, heat the bed and any heated chamber to the temperature you print at. Then wait for the printer to heat soak. Probe and set the offset in that state, and probe in the same state before every print. Klipper’s documentation recommends running bed leveling tools “at a consistent temperature” because many probes read differently when hot.
How to calibrate z offset at printing temperature
Calibrate in the thermal state you print in, then reuse that state every time. These steps use Klipper, whose probe tools and documentation cover the process end to end. The same order applies on other firmware.
- Heat to printing temperature. Bring the bed to the temperature you will print at. If the printer has a heated or enclosed chamber, let it reach its working temperature too.
- Heat soak. Wait until the frame, gantry and bed stop moving. Klipper’s documentation suggests waiting “several minutes after the desired temperature is reached”. Ellis’ Print Tuning Guide asks for at least an hour on large enclosed printers such as the Voron 2.4 and Trident, and 5 to 10 minutes for a thick or frame-mounted bed on an open printer.
- Check repeatability. Run
PROBE_ACCURACY. It takes 10 samples by default and reports the spread. - Measure the offset. Run
PROBE_CALIBRATE, lower the nozzle until it just drags a sheet of paper, thenACCEPTandSAVE_CONFIG. - Fine-tune on a real first layer. Adjust with babystepping during a test print. Then run
Z_OFFSET_APPLY_PROBE, which moves that adjustment into the probe’sz_offset, andSAVE_CONFIG.
Why the first layer changes when the bed is hotter
Two things move when a printer heats up: the probe’s reading and the machine itself. Klipper’s probe documentation says many probes have “a systemic bias when probing at different temperatures”, and may trigger lower when hot. Ellis’ guide adds that Z “will drift upwards as the frame and gantry thermally expand with chamber heat.”
The result is a first layer that changes with temperature even though nothing was adjusted. An offset set cold squishes too much or too little once the bed is at 110 °C. On a large enclosed printer, Ellis notes the drift can continue during the print, so the first layer can “drift up as it prints” if the printer was not soaked.
What is thermal drift in z probes?
Thermal drift is a change in where a probe triggers as its temperature changes. Prusa Research states that “all induction proximity probes alter the sensing distance with increased temperature”, which can affect the first layer. The probe is still working. It is measuring a slightly different height than it did cold.
Inductive and eddy current probes
Inductive probes sense metal through a coil, and the coil’s behavior changes with heat. Prusa’s P.I.N.D.A. v2 probe has a thermistor inside its body “to measure the temperature and fully compensate for the drift.” Klipper’s eddy current probe documentation says that “as with all inductive probes, eddy current probes are subject to significant thermal drift.”
The amounts are small, but so is the tolerance. Klipper describes the impact as “small (think microns)”, and points out that the acceptable precision for a bed probe is also measured in microns.
How bed temperature affects probing accuracy
Bed temperature affects probing in two ways: it warms the probe, which shifts its trigger point, and it expands the bed and the parts around it. Klipper lists the temperature of “the bed, sensor coil, sensor electronics, or any metal near the sensor” as things that change eddy probe results. Probing at a consistent temperature removes most of the variation.
You can measure the effect on your own printer. Klipper’s probe calibration guide suggests running PROBE_ACCURACY cold, then heating “the printer nozzle and bed to printing temperature” and running it again. Compare the two averages. A difference between them is your probe’s temperature bias.
How to compensate for probe thermal drift
There are three ways to deal with drift: probe at the same temperature every time, use a probe with built-in compensation, or probe with the nozzle itself. The first works with any probe, and the other two depend on the hardware.
| Approach | How it handles drift | Source |
|---|---|---|
| Probe at one consistent temperature | Avoids drift by keeping conditions the same every time | Klipper probe calibration guide |
| Probe with a built-in thermistor (Prusa P.I.N.D.A. v2) | Measures the probe’s temperature and compensates | Prusa Knowledge Base |
Eddy current probe with [temperature_probe] (Klipper) |
Calibrates drift across a temperature range with TEMPERATURE_PROBE_CALIBRATE |
Klipper eddy current probe guide |
Marlin probe temperature compensation (PTC_PROBE, PTC_BED) |
Applies offsets measured by G76; Marlin calls it experimental |
Marlin documentation |
| Nozzle-contact probe (Voron Tap, Prusa MK4 load cell) | Measures with the nozzle, so there is no separate probe to drift | Klipper eddy current probe guide, Voron Tap, Prusa |
For eddy probe drift calibration, Klipper says to start “with the printer cold and finish with the coil at the maximum temperature it can reach”, covering the widest range possible. Marlin’s compensation needs a probe with a thermistor, such as the P.I.N.D.A. v2, and its documentation says the feature “should be used with caution.”
Nozzle-contact probing
A nozzle-contact probe triggers when the nozzle itself touches the bed. Klipper’s eddy probe guide notes that a “tap” probe “does not have the thermal drift issues associated with the other probing methods.” Prusa’s MK4 load cell sits in the Nextruder heatsink and detects when the nozzle reaches the sheet.
Frame expansion still applies, so heat soaking still matters. Voron Tap also limits the nozzle temperature during probing. Its Klipper instructions cap probing at 150 °C “to try to preserve your build surface”, so a hot nozzle is cooled before probing while the bed can stay at printing temperature.
When to run a bed mesh hot vs cold
Run the bed mesh at the same temperature every time, and for high-temperature printing make that your printing temperature. Klipper’s probe guide gives the two consistent options: “always run the tools when the printer is at room temperature, or always run the tools after the printer has obtained a consistent print temperature.”
A cold mesh reused for a 110 °C print describes a bed shape and a probe reading that no longer apply. If you print at more than one bed temperature, mesh at each one, or mesh at the start of each print after the soak. BED_MESH_CALIBRATE probes the bed and applies the mesh in one command.
Probing workflow for chamber-heated printers
On a printer with a heated or well-sealed chamber, heat soak is the longest step. Heat the bed and chamber and wait for the frame to settle. Then home, mesh and heat the nozzle. Ellis’ guide asks for at least an hour of soak on large enclosed printers.
A Klipper start macro can enforce the order. This example heats the bed and waits a fixed soak time. Then it homes and meshes before heating the nozzle:
[gcode_macro PRINT_START]
gcode:
    {% set BED = params.BED|default(110)|int %}
    {% set EXTRUDER = params.EXTRUDER|default(260)|int %}
    M190 S{BED}                 ; heat the bed and wait
    G4 P1800000                 ; soak for 30 minutes (milliseconds)
    G28                         ; home at temperature
    BED_MESH_CALIBRATE          ; mesh at temperature
    M109 S{EXTRUDER}            ; heat the nozzle and wait
Set the soak time for your machine, because thirty minutes is only a placeholder. Ellis’ guide says an open printer needs no soak, a thick or frame-mounted bed needs 5 to 10 minutes, and a large enclosed printer needs at least an hour. If you use a nozzle-contact probe such as Voron Tap, heat the nozzle only to its probing limit before G28 and BED_MESH_CALIBRATE, then to the print temperature afterward.
How to probe a bed at 120 °C accurately
At 120 °C the same rules apply. Soak until PROBE_ACCURACY gives a stable spread, calibrate the offset at that temperature, and mesh at that temperature before each print. Run PROBE_ACCURACY twice, a few minutes apart. If the averages still move, the printer has not finished soaking.
Sources
- Klipper documentation, Probe calibration (accessed October 1, 2026)
- Klipper documentation, G-Codes (accessed October 1, 2026)
- Klipper documentation, Bed mesh (accessed October 1, 2026)
- Klipper documentation, Eddy current inductive probe (accessed October 1, 2026)
- Klipper documentation, Configuration reference (temperature_probe) (accessed October 1, 2026)
- Prusa Knowledge Base, Temperature calibration (accessed October 1, 2026)
- Prusa Knowledge Base, Loadcell troubleshooting (accessed October 1, 2026)
- Marlin documentation, Probe temperature compensation (accessed October 1, 2026)
- Voron Design, Tap (README) (accessed October 1, 2026)
- Voron Design, Tap Klipper instructions (accessed October 1, 2026)
- Ellis' Print Tuning Guide, Thermal drift (accessed October 1, 2026)