Adding a chamber heater to a 3D printer: how it works and your options
How to control a chamber heater with Klipper macros
Klipper has no built-in chamber heater command, but it controls one like any other heater once you define it. This guide covers the config section, the safety checks, macros for M141 and M191, a heat-soak start macro, and fans for exhaust and electronics. Every option comes from Klipper's own documentation.
Published · Last verified
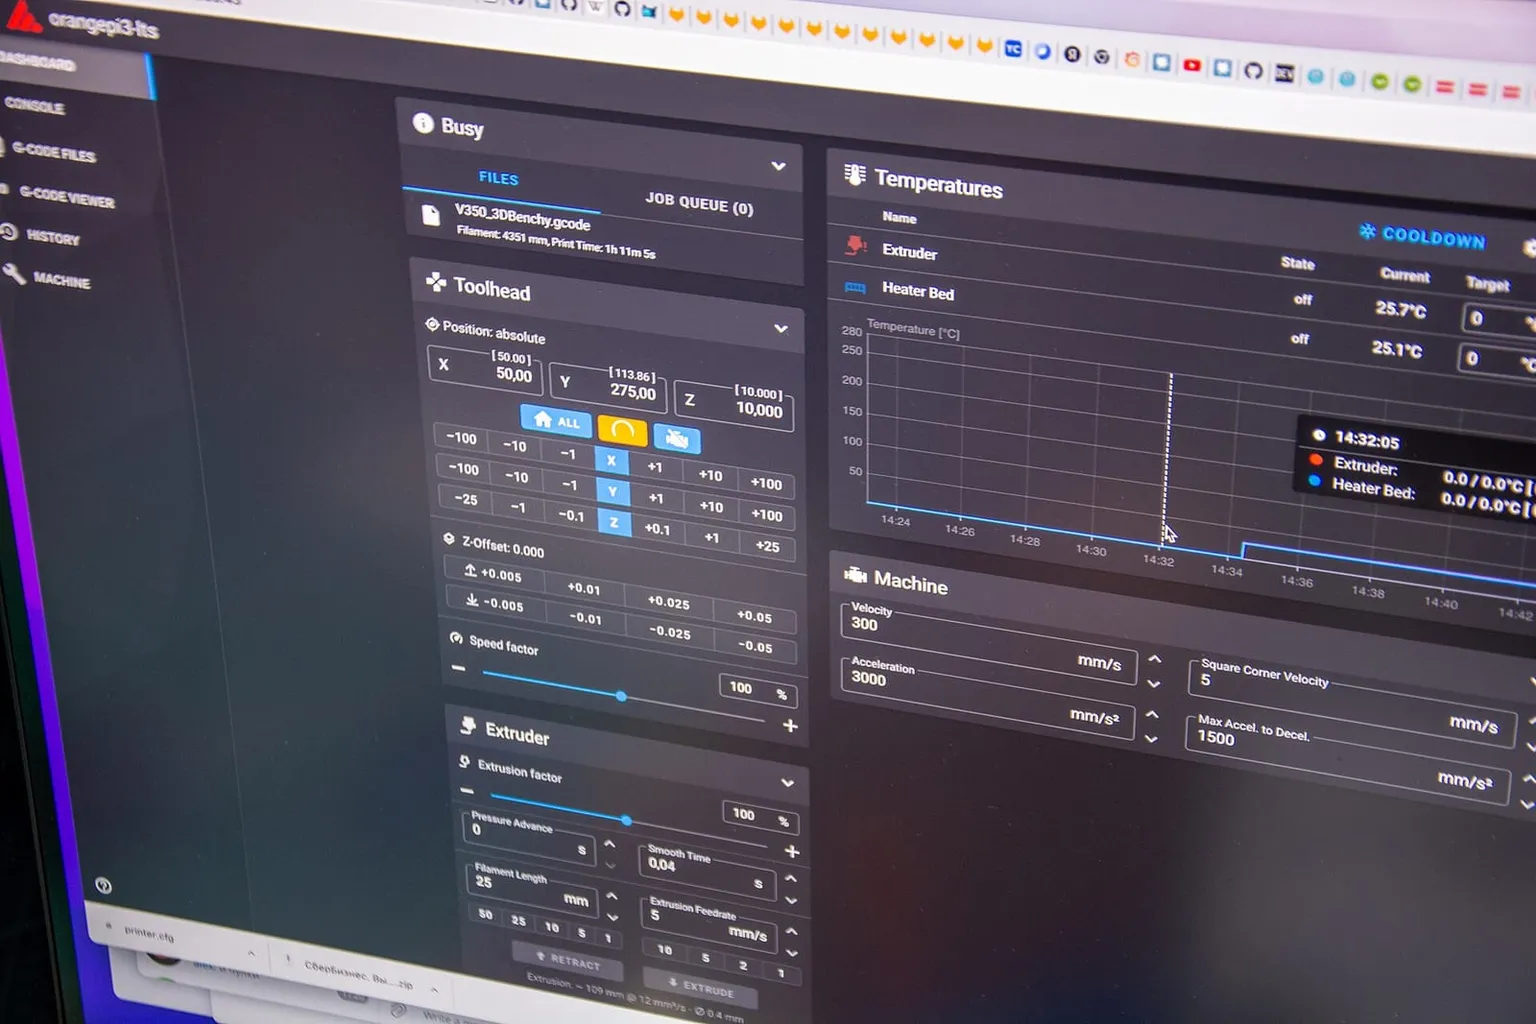

To control a chamber heater with Klipper, define it as a [heater_generic] section with its own sensor, then set it with SET_HEATER_TEMPERATURE and wait for it with TEMPERATURE_WAIT. Klipper does not support M141 or M191, so add small macros if your slicer sends them. A start macro then soaks the chamber before homing and printing.
Klipper’s documentation describes generic heaters as behaving “similarly to standard heaters (extruders, heated beds)”, so the same protections apply. Wiring a mains-powered heater is outside this guide. Have it done to code by someone qualified.
How to define a chamber heater in Klipper
Add a [heater_generic] section that names the output pin driving the heater, the chamber sensor, a control method and a temperature range. Klipper’s configuration reference says generic heaters take the same parameters as the extruder, and that heater_pin, sensor_type, sensor_pin, control, min_temp and max_temp must be provided.
[heater_generic chamber]
heater_pin: PB10            # your board's output for the heater
sensor_type: Generic 3950   # match your chamber sensor
sensor_pin: PA0             # your board's thermistor input
control: watermark
min_temp: 0
max_temp: 80                # just above your highest chamber target
gcode_id: C
The pin names and sensor type are placeholders. Use the values for your board and sensor. Set max_temp just above the hottest chamber you will run. Klipper’s guidance is to “set this range just wide enough so that reasonable temperatures do not result in an error.”
Watermark or PID control
Use watermark for a heater switched by a mechanical relay, and pid for one driven directly by a PWM output. Watermark turns the heater fully on or off around the target. Klipper’s max_delta sets the band, and “the default is 2 degrees Celsius.” PID switches far more often. Klipper’s configuration checks warn that PID “may turn on and off ten times a second, which may not be suitable for heaters using a mechanical switch.”
For PID control, set control: pid and tune it at your working temperature:
PID_CALIBRATE HEATER=chamber TARGET=60
SAVE_CONFIG
PID_CALIBRATE heats to the target, after which “the heater will be turned off and on for several cycles.” SAVE_CONFIG writes the result to printer.cfg and restarts Klipper.
Heater checks for a slow chamber heater
Keep heater verification on. Klipper enables it “automatically … for each heater that is configured on the printer”, including generic heaters. A chamber heats slowly, and Klipper gives any heater not named heater_bed the extruder’s 20-second gain check. That can trip on a large chamber, so lengthen the check rather than disabling it.
[verify_heater chamber]
check_gain_time: 120        # seconds; lengthen only as far as your heater needs
The section name matches the heater’s short name, chamber. Leave hysteresis and heating_gain alone. Klipper says “it is rare to customize” either one. The firmware also guards against a crashed host: the host must confirm an active heater “every 3 seconds”, or the micro-controller shuts down and turns off all heaters.
How to add M141 and M191 macros in Klipper
Klipper’s standard G-code list has M140 and M190 for the bed but no M141 or M191 for the chamber. Its documentation says a less common command “may be possible to implement … with a custom gcode_macro config section.” These two macros map the chamber commands onto Klipper’s own:
[gcode_macro M141]
description: Set chamber temperature
gcode:
    {% set s = params.S|default(0)|float %}
    SET_HEATER_TEMPERATURE HEATER=chamber TARGET={s}

[gcode_macro M191]
description: Set chamber temperature and wait
gcode:
    {% set s = params.S|default(0)|float %}
    SET_HEATER_TEMPERATURE HEATER=chamber TARGET={s}
    {% if s > 0 %}
      TEMPERATURE_WAIT SENSOR="heater_generic chamber" MINIMUM={s}
    {% endif %}
Two details matter. HEATER= takes the short name, chamber, while SENSOR= takes the full section name, heater_generic chamber. And Klipper passes macro parameters “always in upper-case” and “always passed as strings”, which is why the macros read params.S and convert it with float.
Reading chamber temperature in a macro
Klipper’s status reference lists temperature, target and power for every heater, including generic ones. Read them as printer["heater_generic chamber"].temperature. Klipper’s command templates page shows this example with the words reversed, as generic_heater, which does not match the section name and will not work.
How to automate bed heating and chamber soak in Klipper
Heat the bed first, then bring the chamber to temperature and wait. Only then home, mesh and heat the nozzle. The bed helps warm the chamber, and probing after the chamber settles matches the conditions you print in. This start macro takes the bed, nozzle and chamber targets from the slicer:
[gcode_macro PRINT_START]
gcode:
    {% set BED = params.BED|default(110)|int %}
    {% set EXTRUDER = params.EXTRUDER|default(260)|int %}
    {% set CHAMBER = params.CHAMBER|default(0)|int %}
    M190 S{BED}                                   ; heat the bed and wait
    {% if CHAMBER > 0 %}
      M191 S{CHAMBER}                             ; heat the chamber and wait
    {% endif %}
    G28                                           ; home at temperature
    BED_MESH_CALIBRATE                            ; mesh at temperature
    M109 S{EXTRUDER}                              ; heat the nozzle and wait

[gcode_macro PRINT_END]
gcode:
    TURN_OFF_HEATERS
Klipper evaluates a macro “in entirety and only then” runs its commands, so the waits run in order. TURN_OFF_HEATERS turns off every heater, the chamber included. Pass the chamber target from your slicer’s start G-code, for example PRINT_START BED=110 EXTRUDER=260 CHAMBER=60.
Chamber heater thermostat setup
A chamber heater needs its own sensor in the chamber air, away from the heater outlet and the bed, so it reads what the print sees. To monitor a second point without controlling anything, add a [temperature_sensor] section. Klipper describes these as “generic temperature sensors” reported through M105.
[temperature_sensor chamber_top]
sensor_type: Generic 3950
sensor_pin: PA1
If the heater has its own built-in thermostat, Klipper’s control and the thermostat can disagree. Set the heater’s own limit at or above the Klipper target, and let Klipper do the regulating.
Fans for exhaust and electronics
Klipper has two fan types that suit a heated chamber. A [temperature_fan] runs when its sensor goes above a set temperature, which suits an exhaust fan. A [controller_fan] runs whenever its heater or the stepper drivers are active, which suits cooling the electronics bay.
[temperature_fan chamber_exhaust]
pin: PC9
sensor_type: Generic 3950
sensor_pin: PA1
control: watermark
min_temp: 0
max_temp: 90
target_temp: 70             # starts venting above this

[controller_fan electronics]
pin: PD12
heater: chamber
A temperature fan’s target_temp defaults to 40 degrees, so set it above your chamber target, or it will vent the heat you are adding. A controller fan stops after idle_timeout, which “the default is 30 seconds”, once the watched heater and steppers go idle.
Klipper config for high-temperature printing
For high-temperature work, the chamber heater is one part of the config. The hotend needs a sensor and max_temp suited to the target, and every heater needs its verification left on. Keep each max_temp just above the highest temperature you print at, and re-run PID_CALIBRATE at working temperature after any hardware change.
Klipper-compatible chamber heater control boards
Klipper can drive a chamber heater from any spare heater or PWM output on a board it supports, plus a spare thermistor input for the chamber sensor. The board switches a low-voltage control signal. A mains heater needs a switching device rated for its load between the board and the heater. Klipper’s documentation does not cover that hardware, so follow the heater maker’s wiring instructions.
Why Voron does not include a chamber heater
Voron’s official sourcing guide explains that “there are a few reasons Voron does not and will not support active chamber heating”. It states that “it is not necessary to use a chamber heater to achieve sufficient chamber temperatures for ABS or other common 3D printing materials”. It also warns that chamber heating “is easy to screw up” without experience, and that “fire is bad.”
A community how-to on the Voron documentation site shows a chamber sensor, an exhaust temperature_fan and an M141 macro, and notes that “none of the Voron printers include a chamber heater”. If you add one to a Voron, you are building outside the design, and the heater checks above matter more.
Sources
- Klipper documentation, Configuration reference (accessed October 1, 2026)
- Klipper documentation, G-Codes (accessed October 1, 2026)
- Klipper documentation, Command templates (accessed October 1, 2026)
- Klipper documentation, Status reference (accessed October 1, 2026)
- Klipper documentation, Configuration checks (accessed October 1, 2026)
- Klipper documentation, Frequently asked questions (accessed October 1, 2026)
- Voron Design, Sourcing (accessed October 1, 2026)
- Voron Design community, Chamber temperature and exhaust fan (accessed October 1, 2026)