The nozzle that is not printing stays hot, so plastic keeps seeping out of it and lands on the part as strings, blobs and specks of the wrong color. Each slicer has its own names for the settings that stop it.
To stop the idle nozzle oozing, drop its temperature while it waits and retract its filament before each switch. A prime tower then wipes off what still leaks before the nozzle returns to the part. On a Bambu Lab H2D or X2D, Bambu Studio handles the temperature drop for you. In Cura, PrusaSlicer and OrcaSlicer you switch it on yourself.
Dual nozzle printer ooze problems explained
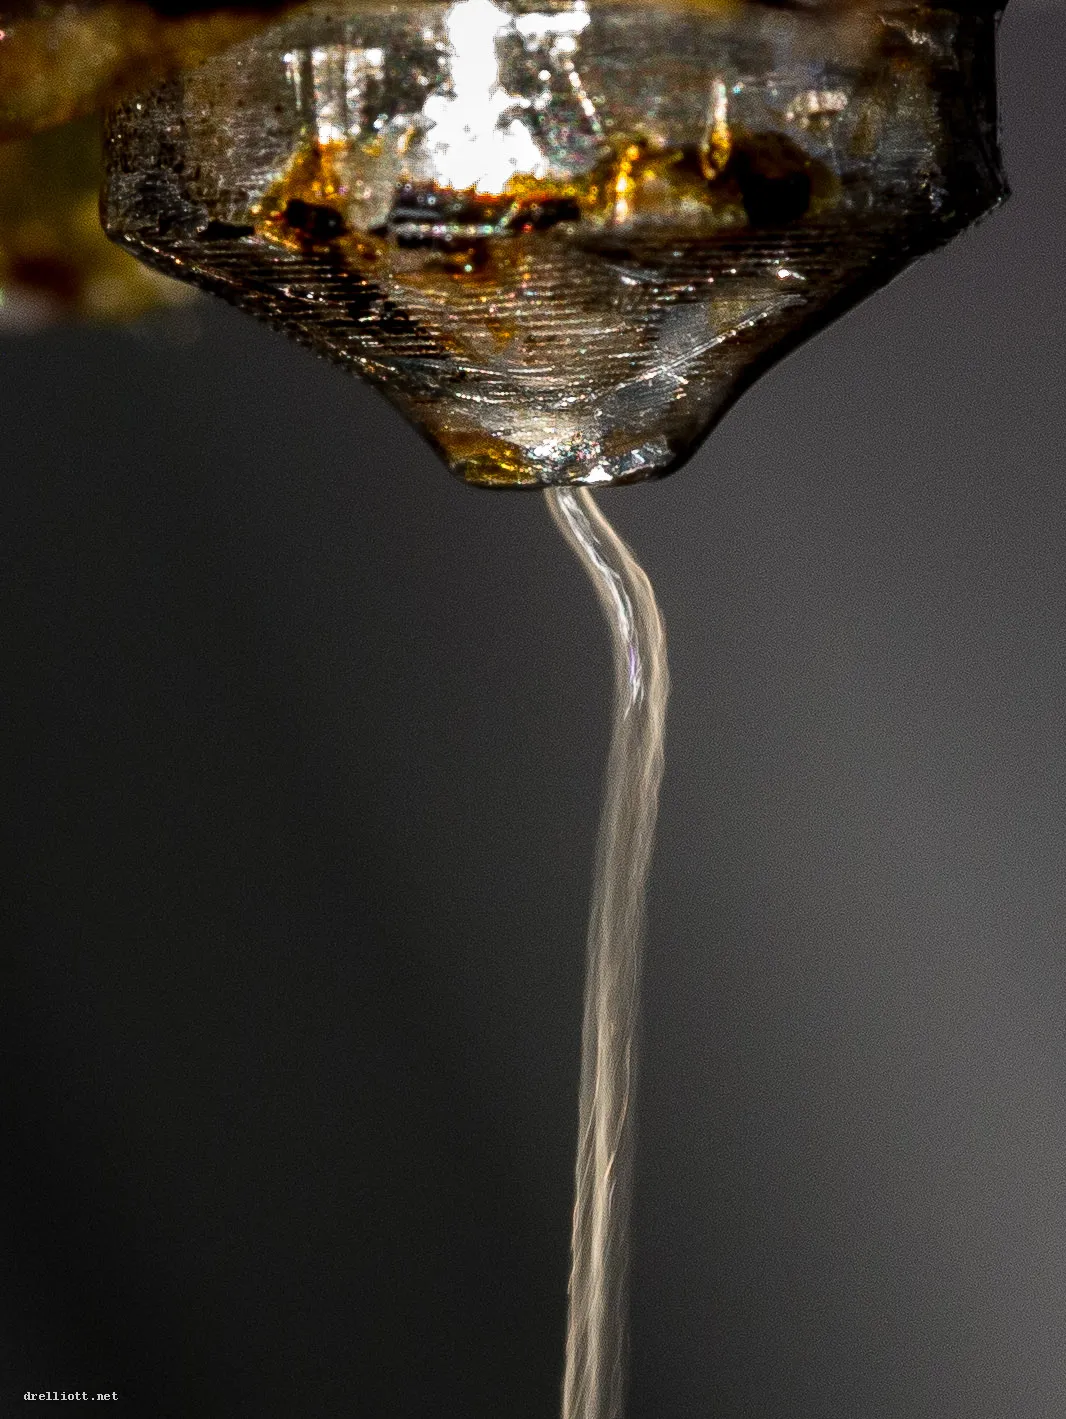
A dual nozzle printer keeps both hotends hot, but only one prints at a time. Molten plastic keeps seeping out of the idle nozzle, and the toolhead drags it across the print. The result is thin strings, small blobs and specks of the second color on the walls.
Two more problems follow from the same leak:
- The nozzle starts short. Plastic lost to ooze leaves the melt zone part-empty, so the first lines after a switch can come out thin. Bambu Studio’s tooltip gives this as one job of the prime tower: to “stabilize the chamber pressure inside the nozzle”.
- Wet filament makes it worse. Bambu Lab’s drying guide says moisture vaporizes in the hot nozzle and makes the plastic expand, which causes “stringing, oozing, holes, rough surfaces”.
Single-nozzle multi-color printing has no idle nozzle, so it does not have this problem. It wastes filament on purging instead (see how multi-color printing works).
How do you stop the idle nozzle from oozing?
Lower the idle nozzle’s temperature, retract its filament before the switch, and print a prime tower that catches the ooze before the nozzle reaches your part. In Cura that means Standby Temperature and Nozzle Switch Retraction Distance; in PrusaSlicer and OrcaSlicer, Ooze prevention. Bambu Studio cools and preheats an H2D or X2D’s idle nozzle automatically.
Here is what each slicer calls those settings. Defaults are from each slicer’s source or generic profile as of 2026-10-12, so a printer profile may set other values.
| Fix |
Bambu Studio (H2D, X2D) |
OrcaSlicer |
PrusaSlicer |
Cura |
| Drop the idle nozzle’s temperature |
Automatic multi-extruder pre-cooling and pre-heating; no user field |
Ooze prevention, then Temperature variation (default -5 °C) or the filament’s Idle temperature |
Ooze prevention, then Temperature variation (default -5 °C) or the filament’s Idle temperature |
Standby Temperature (default 150 °C) |
| Retract before the switch |
Retraction when switching material, Length (2 mm in the H2D and X2D 0.4 mm profiles); Long retraction when extruder change (up to 10 mm) |
Retraction Length (Toolchange) (default 10 mm) |
Retraction Length (Toolchange) (default 10 mm) |
Nozzle Switch Retraction Distance (defaults to the 16 mm heat zone length) |
| Catch and wipe the ooze |
Prime tower, Enable |
Prime tower, Enable |
Wipe tower |
Enable Prime Tower; Wipe Inactive Nozzle on Prime Tower (on by default) |
| Shield the part |
None |
None |
None |
Enable Ooze Shield (2 mm from the part, 60° max angle) |
How to stop the idle nozzle oozing in your slicer
- Lower the standby temperature. In Cura, set Standby Temperature in the Material settings for the idle nozzle’s material. In OrcaSlicer, tick Enable under Print settings > Multimaterial > Ooze prevention. Then set an Idle temperature under Filament > Basic information. PrusaSlicer uses the same Ooze prevention switch and Idle temperature filament field. On an H2D or X2D in Bambu Studio, keep the stock printer profile, which already has pre-heating turned on.
- Retract before the switch. Set the toolchange retraction listed in the table above. Bambu Studio adds Long retraction when extruder change, under Filament settings > Multi Filament. Tick it and set Retraction distance when extruder change, which takes 0 to 10 mm.
- Turn on the prime tower. In Bambu Studio, tick Enable under Process > Others > Prime tower. In OrcaSlicer it sits under Multimaterial > Prime tower. In Cura, tick Enable Prime Tower in Dual Extrusion and leave Wipe Inactive Nozzle on Prime Tower on.
- Add an ooze shield in Cura. Tick Enable Ooze Shield in Dual Extrusion. Cura then prints a thin wall around the part that wipes the second nozzle as it passes.
- Keep the H2D’s wiping pad seated. The H2D’s silicone Nozzle Wiping Pad cleans the nozzles at the start of each print. Bambu Lab says to replace it when it shows aging, cracking or damage. It must be fully pressed into its orange holder, or it can hit the nozzle.
- Dry the filament. Dry any spool that strings or bubbles before you print it, using the temperatures in the drying table below.
Each of these trades time or filament for cleaner walls. A lower standby temperature means a longer reheat at every switch. OrcaSlicer’s Preheat time (default 30 seconds) starts heating the next nozzle that far ahead of its turn to shorten the wait. A prime tower adds filament per switch; the dual nozzle purge waste page breaks that down.
Bambu Studio settings for H2D and X2D ooze
Bambu Studio has no standby temperature field for the H2D or X2D. The stock H2D and X2D printer profiles turn on pre-heating. When a nozzle goes idle, the slicer adds M104 commands that let it cool as far as the idle time allows, then reheats it in time for its next turn. The Bambu H2D filament profiles also bring the nozzle in 10 °C below print temperature as it reaches the prime tower (“Wipe tower cooling”), a value only Developer mode shows.
The ooze settings you can change sit in the filament profile and need the Advanced toggle. The first three each have an “Extruder change” value for nozzle switches on the H2D and X2D, and a “Hotend change” value for printers that swap hotends:
| Setting (Filament settings) |
What it does |
Value in Bambu’s profiles |
| Filament ramming length |
Extrudes this length from the outgoing nozzle before the switch, which “helps minimize nozzle oozing” |
4 mm in the H2D PLA and PETG Basic profiles |
| Travel time after ramming |
A reverse travel move after ramming, “to prevent oozing” |
0 s (off) |
| Precooling target temperature |
Cools the outgoing nozzle during ramming, “to prevent oozing”; ramming must last longer than the cooldown |
0 (off) |
| Long retraction when extruder change (Multi Filament page) |
Pulls the filament back further at the switch |
Off; distance up to 10 mm |
Change one setting at a time and reprint the same two-color test, so you can see which one cleared the strings. Keep each filament on the nozzle you tuned (assigning filament to the left or right nozzle covers how).
Why the idle nozzle still oozes after tuning
- The filament is wet. Bambu Lab marks drying before use and desiccant storage during use as “Required” for both PVA (polyvinyl alcohol, the water-soluble support) and TPU (thermoplastic polyurethane, the flexible one). Its drying temperatures are in the table below. Soluble supports have their own page: PVA supports on a dual nozzle printer.
- The wiping pad is worn or loose. A cracked pad stops wiping, and one that sits too high hits the nozzle. Check that it sits flush in its holder.
- The idle temperature is still near print temperature. The -5 °C default Temperature variation barely cools the idle nozzle. Set an Idle temperature instead, which overrides it.
- The strings come from the active nozzle. Strings that also show up on single-color prints are ordinary stringing. Prusa’s guide suggests lowering nozzle temperature by 5 to 10 °C and trying a fresh spool.
| Filament |
Forced-air oven |
AMS HT |
Printer heated bed (H, X, P2S, P1S) |
| PETG |
60 to 65 °C, 8 h |
65 °C, 12 h |
75 to 85 °C, 12 h |
| TPU 85A, 90A |
70 °C, 8 h |
75 °C, 18 h |
90 °C, 16 h |
| PVA |
75 to 85 °C, 8 to 12 h |
85 °C, 18 h |
90 to 100 °C, 12 h |
Drying values are from Bambu Lab’s filament drying guide, accessed 2026-10-12. The AMS HT and AMS 2 Pro are Bambu Lab’s filament units with built-in drying, and Bambu Lab says the AMS 2 Pro cannot dry PVA and may not fully dry TPU. Printing TPU and PETG together has its own ooze and nozzle-assignment limits, covered in printing TPU and PETG in one print.
.jpg)