When a toolchanger misses a pickup, the carriage has usually arrived where the firmware thinks the tool is, not where it actually sits. This page covers Klipper toolchangers such as StealthChanger, and the Prusa XL, with fixes in the order to try them.
A failed tool pickup almost always means the carriage is not meeting the tool where it sits. Recalibrate that tool’s dock position first and make sure the dock cannot move. Then check the coupling (coupler pins on a Prusa XL, magnets and preload on a StealthChanger) and the sensor that confirms the tool is attached.
A toolchanger fails a pickup when the carriage and the tool do not meet where the firmware expects. The usual causes are a dock position that has drifted or was never calibrated, a dock that flexes, dry coupler pins or badly set magnet preload, an umbilical that snags, belts that skip, and a tool-detection sensor that misreads.
| What you see |
Likely cause |
What to do |
| Carriage hits the tool or the dock on the way in |
Dock position wrong, or the dock has moved |
Tighten the dock, then recalibrate its position |
| Carriage reaches the tool but the pickup fails at the verify step (StealthChanger) |
Park Z too low for the OptoTap sensor to trigger |
Add 1 mm to params_park_z |
| Tool wobbles or sits crooked after pickup |
Dock back plate set wrong, or preload screws too loose |
Reset the dock back plate; adjust the preload screws |
| “Tool not detected” with the tool clearly on |
Detection pin, wiring or pull-up |
Check detection_pin, add ^ if the sensor needs a pull-up, check crimps |
| Prusa XL parks a tool in the wrong place and hits a parked tool (#17813) |
Dock calibration, belt tension, dry coupler pins, or the Cheese board |
Work through the Prusa XL steps below |
| Prusa XL: “Check all tools if they are properly parked or picked” (#17135) |
Debris on the toolchanger carriage, bent dock pins |
Clean, inspect, then rerun dock and tool offset calibration |
| Crash while another tool is moving |
An umbilical obstructing the other tools |
Guide each umbilical with flat spring steel or piano wire |
| Gantry out of level after fast tool changes |
A Z motor skipped |
Lower max_z_accel and max_z_velocity |
klipper-toolchanger, the Klipper module that StealthChanger (through klipper-toolchanger-easy), TapChanger and ClickChanger builds run on, verifies a pickup only if each tool has a detection_pin. With verify_tool_pickup: True (the default), it checks tool presence after the pickup G-code. A waypoint in the pickup path marked 'verify':1 runs VERIFY_TOOL_DETECTED at that point.
A failed check aborts the tool change and puts the toolchanger in its ERROR state. It then runs error_gcode, which the example configs set to PAUSE.
Before printing can continue, the toolchanger must be re-initialized with INITIALIZE_TOOLCHANGER. The example RESUME macro does that, then runs VERIFY_TOOL_DETECTED. Setup details are in the klipper-toolchanger config guide.
These steps follow the StealthChanger docs and the klipper-toolchanger example macros; TapChanger and other docked builds work the same way.
- Clear the error. Put the tool back in its dock by hand if it is half-attached, then run
INITIALIZE_TOOLCHANGER.
- Rule out the sensor. Mount the tool by hand and run
VERIFY_TOOL_DETECTED T=<n>. If it fails with the tool in place, the fault is detection, not position. Check the detection_pin assignment, wiring and crimps; some sensors need a pull-up, written as ^ before the pin.
- Home and level. Run
G28, then QUAD_GANTRY_LEVEL, then G28 Z. StealthChanger “strongly” recommends calibrating the printer’s zero point before setting dock positions.
- Make the dock rigid. A dock that moves breaks every saved position. StealthChanger’s modular docks need support above and below, so its build adds a crossbar at the front of the frame.
- Set the tool’s resting height. Lower the dock’s back plate fully, jog the tool into the dock, lower the gantry until the tool’s pins lift off the shuttle’s bushings, then raise the back plate until it touches the tool’s backplate feet.
- Find the pickup point. Home, level and home Z again. With the tool sitting in the dock, jog the empty shuttle underneath it and step upward until the OptoTap sensor triggers. Write that X, Y and Z into
params_park_x, params_park_y and params_park_z. Add 1 mm to Z so the sensor triggers reliably.
- Or use the alignment macros. The klipper-toolchanger examples include
TOOL_ALIGN_START, TOOL_ALIGN_TEST and TOOL_ALIGN_DONE. They drop path speed to 300 mm/min, test-dock the tool at the current position, then save the park position with SAVE_TOOL_PARAMETER. Run SAVE_CONFIG to keep it.
- Test at half speed. Send
M220 S50, run T0, T1 and the rest several times, and watch each pickup for misalignment or wobble.
- Set magnet preload. On StealthChanger, preload comes from the two magnetic countersunk screws in the tool plate. Screw both fully in. Back them out evenly, a quarter turn at a time, until the tool stops engaging by itself, then screw them back in a quarter turn. Repeat for each tool, and use N52 magnets in the shuttle.
- Route the umbilicals. Every tool’s umbilical needs a controlled arc so it cannot obstruct another tool. StealthChanger guides each one with 3 x 0.3 mm flat spring steel or piano wire.
- Free the carriage. Bring the picked tool to its dock and slide the toolchanger to the right to release it. Make sure every other tool is also parked.
- Tighten the dock. Push a 2.5 mm Allen key through the hole in the rear metal sheet to the middle screw in the xl-dock-cable-router and tighten it firmly. The dock should not move at all.
- Clean and inspect. Clear debris from the toolchanger carriage and check the dock pins for bends or damage.
- Recalibrate the dock. Go to Control > Calibrations & Tests > Dock Position Calibration, choose the affected tool and follow the screen.
- Check belt tension. Belts that are too loose or too tight cause skipped steps, and Prusa lists them as a cause of toolchanger crashes.
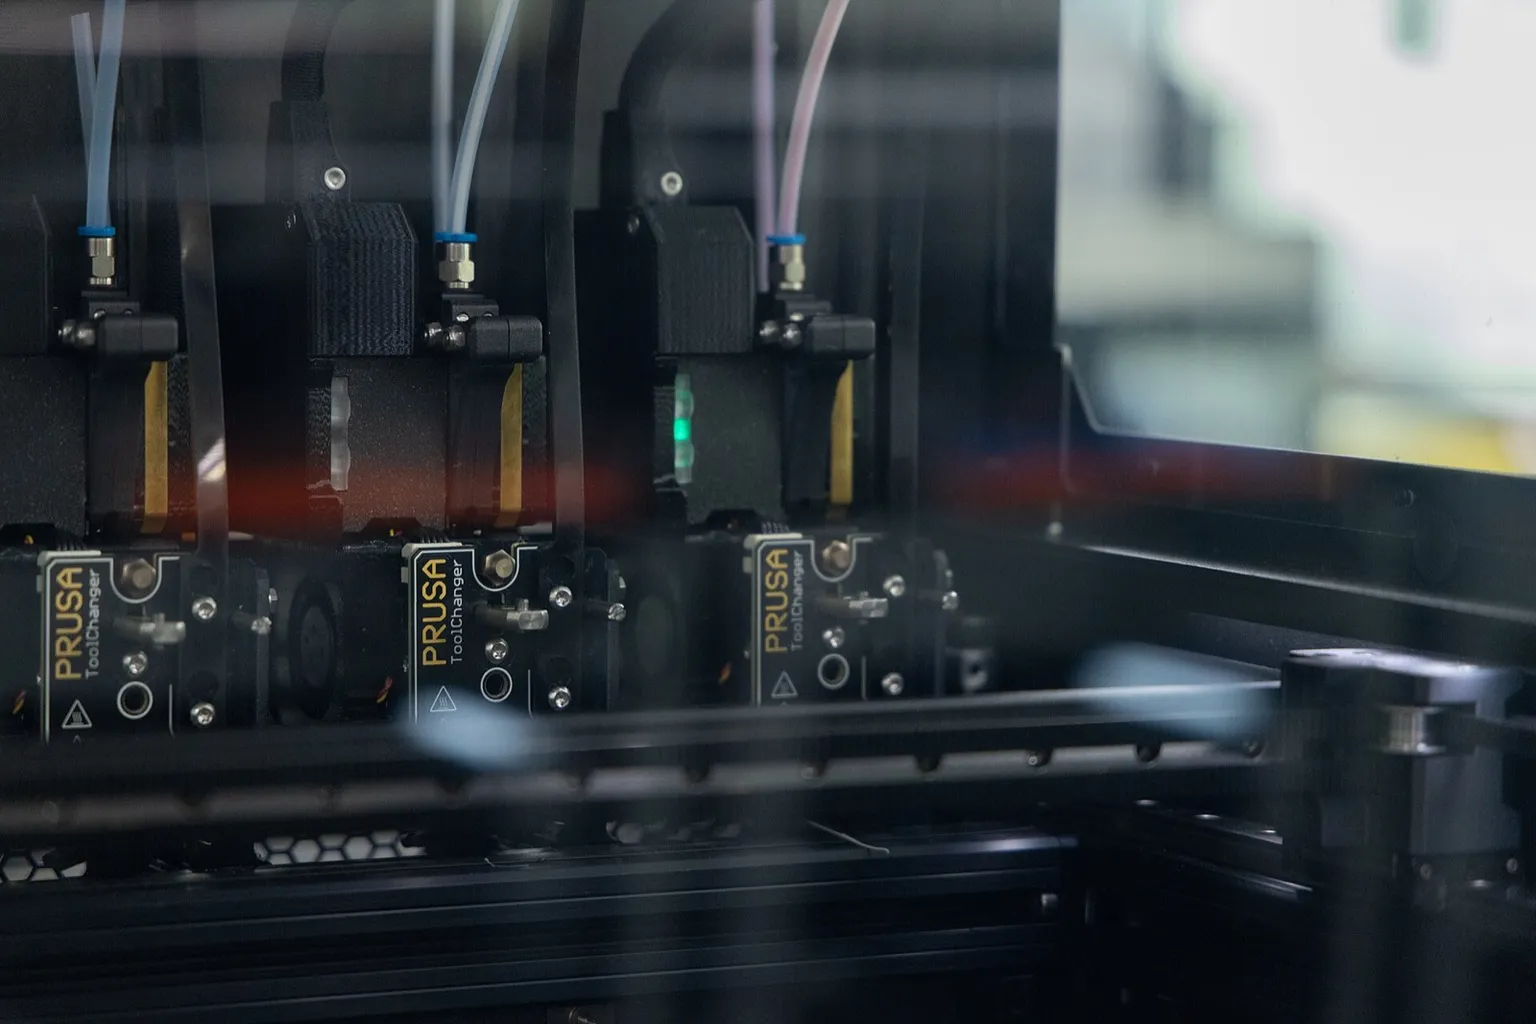
- Lubricate the coupler pins. Each tool has three. Park the current tool (Control > Pick/Park tool > Park current tool), switch the printer off, and follow Prusa’s guide, which uses Prusa lubricant and a printed applicator called tc_greaser.
- Recalibrate the offsets. If errors continue, run Tool Offset Calibration after the dock calibration.
- Suspect the Cheese board last. If nothing above helps, Prusa names the Cheese board as the possible fault. It connects to the Dwarf toolhead board and carries the positioning pins, carrying pins and nozzle LEDs. Contact Prusa support at that point.
Prusa’s #17135 and #17136 articles also cover the CORE One INDX. For every XL toolchanger error code, see the Prusa XL tool changer problem page.
In klipper-toolchanger, two parameters set pickup and dropoff speed: params_fast_speed caps travel to and from the dock, and params_path_speed caps the moves inside the dock. Each path waypoint can scale path speed with an f multiplier. Both are G-code feedrates in mm/min, and both are still limited by the printer’s max_velocity and max_accel.
| Parameter |
What it limits |
Value in the docs |
params_path_speed |
Every move along the pickup and dropoff path inside the dock |
900 (15 mm/s) in StealthChanger docs and klipper-toolchanger examples |
f on a waypoint |
Multiplies path speed for that one move |
0.5 on the StealthChanger engagement move |
params_fast_speed |
Travel between the print and the dock |
10000 in StealthChanger docs; 30000 in the klipper-toolchanger fixed-dock example |
The published StealthChanger pickup path slows to 'f':0.5 for the move that seats the tool and verifies it: half of 900, or 450 mm/min. Leave that move slow and speed up the travel first.
Once tool changes work, StealthChanger’s tuning page says to go faster by raising the printer limits, Z above all. Its example [printer] section uses max_z_velocity: 100 and max_z_accel: 1000 (start at 500 with a G2Z drive). Raise max_z_accel 100 to 200 at a time and max_z_velocity 25 to 50 at a time, with several tool changes between steps. Start motor run_current at 40% of the motor’s rated current: 0.8 A for a 2 A motor.
DraftShift warns that a Z motor skipping at these speeds can rack the gantry hard enough to damage it, and that too much current can overheat the printed Voron 2.4 motor mounts until they deform.
DraftShift’s StealthChanger docs say a typical Voron 2.4 should manage tool changes in under 10 seconds, from the bed and back. Beyond that, gains are small: acceleration time and fixed pauses for the mechanical engagement and sensor detection set the floor.
A slow change is often the hotend, not the motion. The example pickup G-code waits with M109 for the incoming tool to reach its target temperature while its nozzle rests on the dock pad. klipper-toolchanger-easy replaces M109 with a version that accepts ±1 °C by default, which you can widen with variable_default_deadband.
How often should you maintain toolchanger docks and couplers?
Of the toolchangers covered here, only Prusa publishes a schedule. Its XL maintenance article puts general inspection at about every 200 to 300 print hours and says toolchanger cleaning and coupler-pin lubrication can be done with it, or sooner if prints show banding or ringing. StealthChanger and klipper-toolchanger publish no interval for docks, magnets or pins.
| Machine |
What the maker documents |
Interval |
| Prusa XL |
Inspection and maintenance of the printer |
About every 200 to 300 print hours |
| Prusa XL |
Clean the toolchanger and toolheads; lubricate the three coupler pins per tool |
With the regular maintenance, or when prints show banding or ringing |
| Prusa XL |
Dock Position Calibration |
After reassembling docks, or when a dock or toolchanger error asks for it |
| StealthChanger |
Check and readjust magnet preload screws |
No published interval (“from time to time”) |
| StealthChanger |
Dock positions |
No published interval |
| klipper-toolchanger |
Any maintenance |
Not covered |
With no interval for a Klipper build, the practical trigger is the symptom: recalibrate the dock position whenever a dock has been touched, loosened or reprinted, and after any crash.
The failure modes makers document are mechanical, and each has a detection or prevention option in firmware or hardware.
- Collisions in the dock. On the Prusa XL this is error #17813, “Toolchanger problem has been detected. Park all tools to docks, leave the carriage free”.
- Missed latches. klipper-toolchanger’s verify step stops the change and pauses the print instead of printing in mid-air, but only with tool detection wired.
- Dropped tools mid-print.
abort_on_tool_missing is off by default. Turn it on and klipper-toolchanger calls error_gcode when the mounted tool disappears for longer than tool_missing_delay (2.0 seconds by default). A community usermod, tool_drop_detection, uses each toolhead’s accelerometer to catch a drop or crash by its g-force or tilt.
- Umbilicals. StealthChanger’s docs call controlling them “extremely important”, since one that obstructs another tool causes a crash.
- Printed parts. StealthChanger discourages ABS+ for a printed shuttle because it “tends to crack over time”.
- Z skipping. Faster tool changes load the Z motors hardest; see the tuning section above.
For how docks, couplers and offsets fit together, see StealthChanger and toolchanger tool offsets.
.jpg)