How-to
PrusaLink setup: connect a Prusa printer on your network
PrusaLink is built into the firmware of the Prusa CORE One, MK4, MK4S, MK3.9, MK3.5, XL and MINI. Put the printer on your network, type its IP address into a browser and log in with the user and password from its PrusaLink menu. PrusaSlicer can then send G-code straight to it.
Edited by 3D Printeray EditorsPublished Last verified 9 min read
In this section: Offline & LAN(18)
On this page (8)
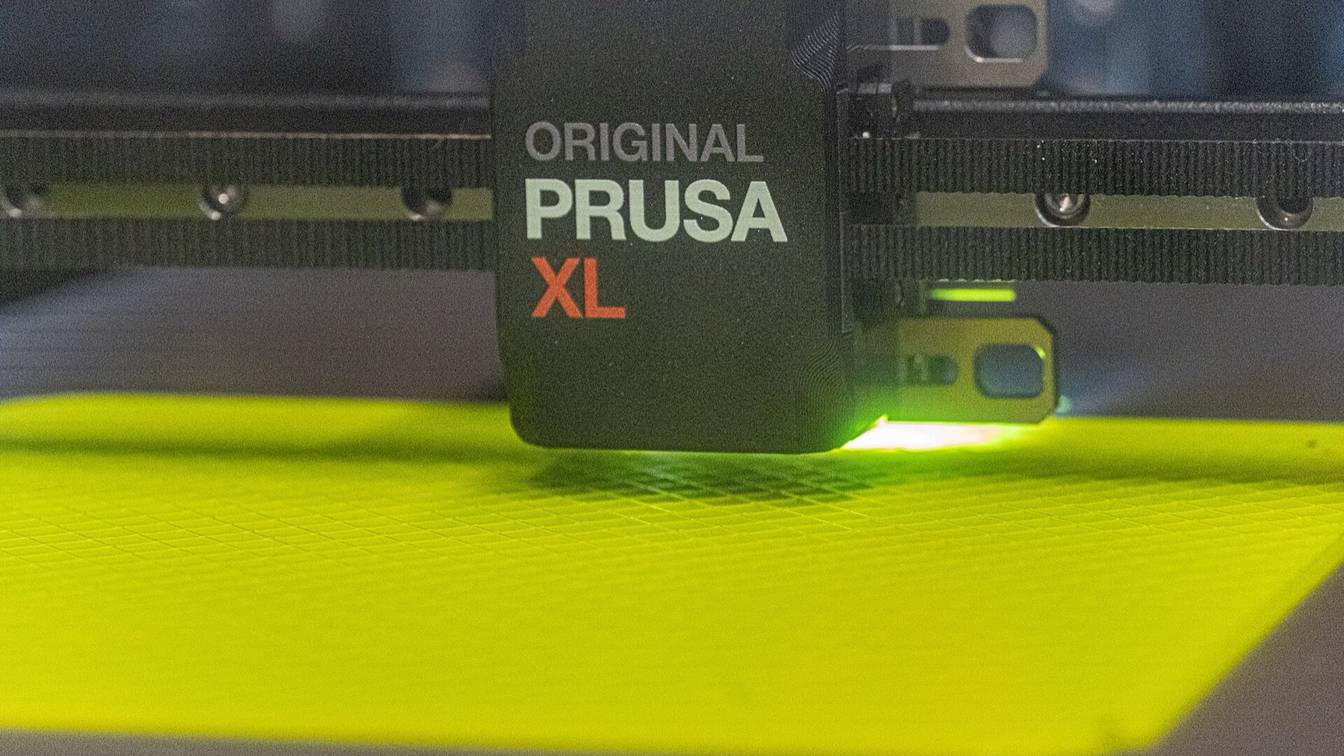

To set up PrusaLink, connect the printer to your network by 2.4 GHz Wi-Fi or Ethernet and read its IP address under Settings > Network. Type that address into a browser on the same network, then log in with the user and password listed under Settings > Network > PrusaLink.
PrusaLink works only inside your local network. For access from anywhere, see PrusaLink vs Prusa Connect, which compares it with Prusa’s cloud service. Menu names below follow Prusa’s Knowledge Base and the source of printer firmware 8.0.0 (November 3, 2026).
PrusaLink on the MK4, CORE One, XL and MINI
Prusa lists PrusaLink as built in on the CORE One, XL, MK4, MK3.9 and MK3.5 families, and on the MINI once networking is set up. All of them run the same firmware line: version 8.0.0 covers the CORE One, CORE One+, CORE One L and L+ (INDX versions included), XL and XL+, MK4 and MK4S, MK3.9 and MK3.9S, MK3.5 and MK3.5S, and MINI and MINI+.
| Printer | Before you start |
|---|---|
| CORE One, CORE One+, CORE One L | Built in; connect by Wi-Fi or Ethernet |
| MINI, MINI+ | Wi-Fi needs an ESP-01S or ESP-01 (ESP8266) module installed first, ideally with 1 MB of flash or more; Prusa’s module guide covers it |
| MK2.5S, MK3S, MK3S+ | Not built in: PrusaLink runs on a Raspberry Pi, see PrusaLink on a Raspberry Pi |
| MK3.5, MK3.5S, MK3.9, MK3.9S | Built in; the same Prusa setup guide as the MK4 and CORE One |
| MK4, MK4S | Built in; assembled printers ship with the ESP Wi-Fi module fitted, and the Ethernet port is on the back. The MK4S can take Wi-Fi details over NFC (near-field communication) from the Prusa Mobile app |
| XL, XL+ | Built in. An XL still on firmware 4.7.5 or older follows a separate Prusa guide |
How do you set up PrusaLink?
Connect the printer to your network, read its IPv4 address on the screen, and open that address in a browser on the same network. PrusaLink is switched on by default, so once the printer has an address, the login page loads. Wi-Fi goes through the Wi-Fi Wizard; Ethernet needs only a cable.
How to set up PrusaLink, step by step
- Choose the interface. On the printer, open Settings > Network > Active Interface (called “Default” on older firmware) and pick Wi-Fi or Ethernet.
- Plug in Ethernet, or open the Wi-Fi Wizard. For a wired connection, plug a network cable into the port on the back of the printer and skip to step 4. For Wi-Fi, the wizard opens on first start; otherwise open Settings > Network > Wi-Fi > Wi-Fi Wizard.
- Enter the Wi-Fi details. On an MK4S, the Prusa Mobile app can send them by NFC: follow the on-screen prompt and hold the phone 2 to 3 cm from the NFC antenna. On any model, choose Scan networks, pick your network and type the password on the on-screen keyboard. A third route uses a file on the USB drive, covered in the next section.
- Check the connection. A white Wi-Fi icon at the top of the screen means connected; a grey one means Wi-Fi is on but has not joined the access point. A wired connection shows its own icon.
- Read the IP address. Open Settings > Network and note the IPv4 Address. In firmware 8.0.0 it sits one level down, under Network Status, Wi-Fi, Ethernet or PrusaLink.
- Open PrusaLink. On a computer on the same network, type
http://followed by the IP address (for examplehttp://192.168.0.42) into the browser’s address bar. - Log in. Use the User and Password shown under Settings > Network > PrusaLink. The user is
maker; the password and how to change it are covered in the PrusaLink password.
Prusa recommends Chrome or Firefox for the login, because Safari and Edge can have login problems.
Wi-Fi from a file (prusa_printer_settings.ini)
Use this when you would rather type the network name and password on a computer. In the Wi-Fi Wizard, choose Load config from file. On firmware 6.0.0 or newer the printer waits for a valid file; older firmware writes a prusa_printer_settings.ini file to the USB drive for you.
- PrusaSlicer (Prusa’s recommended route): connect the printer’s USB drive to your computer. If the Wi-Fi window does not open by itself, choose Configuration > Wi-Fi Configuration File. Fill in SSID (the network name) and Password, check that Drive points at the printer’s USB drive and click Write. The MINI guide says this needs PrusaSlicer 2.7.0 or later.
- Text editor: create or open
prusa_printer_settings.inion the USB drive and fill in the[wifi]section, with no spaces before or after the=:
[wifi]
ssid=YourNetworkName
psk=YourWiFiPassword
Put the drive back in the printer. Firmware 6.x and newer loads it on its own; to load it again, use Wi-Fi Wizard > Load config from file.
How do you find the PrusaLink IP address?
On the printer, open Settings > Network and read the IPv4 Address line. In firmware 8.0.0 that line appears under Network Status, Wi-Fi, Ethernet and PrusaLink; the MINI’s small screen labels it “IP”. Type http:// and the address into a browser on the same network to open PrusaLink’s web interface.
Your router hands out the address by DHCP (automatic addressing), and Prusa warns it “might change over time”. Three ways to keep the PrusaLink URL stable:
- Reserve the address in your router. Tell the router’s DHCP to always give the printer the same IP, matched to its MAC address (the hardware ID of its network connection). The printer lists a separate MAC Address under Settings > Network > Wi-Fi and under Ethernet, so reserve the one for the interface you use.
- Set a static IP on the printer. Add an
[eth::ipv4]section (or[wifi::ipv4]for Wi-Fi) toprusa_printer_settings.iniwithtype=staticplusaddr,maskandgw. Load it with Settings > System > Load Settings from File, then restart. Prusa marks this “for experienced users only” and says to reserve the same address in the router to avoid conflicts. - Use a hostname. On firmware 6.1.2 or newer, set one under Settings > Network > PrusaLink > Hostname. Then browse to
http://plus the name plus.local, as in Prusa’s examplehttp://dragan1.local. Prusa notes hostnames “might not work on some networks”.
Using the PrusaLink web interface
The web page lets you monitor the printer, upload files and control prints without internet access. To print, open the Storage tab and click or drag a .gcode or .bgcode file into the marked area. Then open the file’s details and select Start Print. Files are stored on the printer’s USB drive.
Prusa lists three conditions for a print to start:
- A USB drive is in the printer.
- An empty, clean print sheet is on the heatbed.
- The printer is on its home screen. A prompt on the screen may make it reject remote commands.
The PrusaLink API that the web page is built on also covers pausing, resuming and stopping a job and deleting files. Uploads can be slower while the printer is printing, so Prusa suggests sending files when it is idle. Firmware 8.0.0 fixed a possible crash at the end of a PrusaLink upload.
How do you send prints from PrusaSlicer to PrusaLink?
Add the printer to PrusaSlicer as a physical printer: set Host Type to PrusaLink, enter the printer’s IP address, and paste the password from Settings > Network > PrusaLink into API Key / Password. After slicing, click the send button at the bottom right of the sidebar and choose Upload and Print.
- Note the IP address and password. On the printer, Settings > Network > PrusaLink shows both. Prusa’s guide says the Password item is your PrusaLink API key.
- Add a physical printer. In PrusaSlicer, click the cog icon next to the printer profile and choose Add physical printer. Name it and check that the right printer profile is assigned.
- Fill in the connection. Set Host Type to PrusaLink and put the IP address in the Hostname, IP or URL field. Paste the password into API Key / Password, click Test, then OK.
- Send a job. Slice, then click the send button at the bottom right of the sidebar. Prusa’s guide calls it the G> button; PrusaSlicer 2.9.7 labels it Send G-code. Name the file and choose Upload and Print, or Upload to store it without printing.
- Watch the transfer. Window > Print Host Upload Queue shows the upload’s progress.
For more security, Prusa recommends switching Authorization Type from API key to HTTP digest. On the MK4 and XL the user name is then maker and the password is the same API key; the firmware uses maker on every printer it runs.
PrusaSlicer’s separate Prusa Connect tab sends jobs through Prusa’s cloud instead. Prusa calls the physical-printer route for Prusa Connect a legacy method; PrusaLink still goes through a physical printer.
Why is PrusaLink not connecting?
When PrusaLink will not connect, check five things: whether the printer joined the network (a 5 GHz-only Wi-Fi network blocks it), whether the computer is on the same network, whether the printer’s IP address changed, whether PrusaLink is switched on, and whether the browser handles the login. Start with the printer’s Wi-Fi status.
The status sits under Settings > Network > Wi-Fi (Prusa’s article gives the path as Settings > Network > Wi-Fi > Status). Work down this table in order:
| What you see | Cause Prusa gives | What to do |
|---|---|---|
| Wi-Fi status “No AP” | Weak signal, wrong credentials, or a 5 GHz-only access point. The Wi-Fi module supports 802.11 b/g/n on 2.4 GHz only | Join a 2.4 GHz network, then re-enter the details |
| Still no connection after 8 minutes or more | The network name contains a dash, underscore, apostrophe or dot; a space around = in the .ini file; or a roaming network. PrusaLink needs a direct SSID and password connection |
Fix the file or rename the network, then load it again |
| Wi-Fi status “Link down” | Connected to the access point but no IP address yet: weak signal, interference or no DHCP server | Wait: a short “Link down” is part of a normal connection. If it stays, check the router’s DHCP |
| “ESP error”, “Gone” or “Flash ESP” | The Wi-Fi module crashed, is unplugged, or has outdated firmware | Run the Wi-Fi module setup again from Settings > Network > Wi-Fi; Prusa says the printer re-flashes the module during setup |
| Printer connected, but the page will not load | The computer is on another network, or the IP address changed | Use the same network as the printer, re-read the IPv4 Address, and reserve it in the router |
| Page loads, but the login fails | A browser problem: Prusa names Safari and Edge | Log in with Chrome or Firefox |
| Nothing answers at the printer’s address | PrusaLink is switched off | Settings > Network > PrusaLink > Enabled: On |
| PrusaSlicer’s Test fails | Wrong IP address or password, or the password was changed with Generate Password | Copy both again from Settings > Network > PrusaLink |
| File uploads, but the print does not start | No USB drive, or a prompt is open on the printer’s screen | Insert the drive and return the printer to its home screen |
Old firmware can also block connections. Prusa says printers with the xBuddy board on firmware older than 6.4.0 will be unable to connect. Firmware 7.0.0 added security fixes that touch PrusaLink (bulletin PSA-2026-002), and Prusa recommends going straight to 8.0.0. Until you update, Prusa’s bulletin says to keep the printer on a trusted network and not expose it to the internet.
Sources
- Prusa Knowledge Base, Wi-Fi and Prusa Connect/Link setup (CORE One, MK4/S, MK3.9, MK3.5, XL, MINI/+) (PDF edition of May 13, 2026) (accessed November 7, 2026)
- Prusa Knowledge Base, Prusa Connect and PrusaLink explained (accessed November 7, 2026)
- Prusa Knowledge Base, PrusaLink Troubleshooting (accessed November 7, 2026)
- Prusa Knowledge Base, How to set a static IP Address (accessed November 7, 2026)
- Prusa Knowledge Base, Sending files from PrusaSlicer to PrusaLink (PDF edition of May 13, 2026) (accessed November 7, 2026)
- Prusa Knowledge Base, Sending G-codes to printer via network (Prusa Connect, PrusaLink, Octoprint) (accessed November 7, 2026)
- Prusa Knowledge Base, Installing Wi-Fi and PrusaLink (MINI/+) (accessed November 7, 2026)
- Prusa Knowledge Base, Wi-Fi and PrusaLink setup (XL firmware up to 4.7.5) (accessed November 7, 2026)
- Prusa Firmware Buddy (GitHub), 8.0.0 release notes (November 3, 2026) (accessed November 7, 2026)
- Prusa Firmware Buddy (GitHub), 7.0.0 release notes (November 3, 2026) (accessed November 7, 2026)
- Prusa Research, Security bulletin PSA-2026-002 (accessed November 7, 2026)
- Prusa Firmware Buddy 8.0.0 source, src/gui/screen_prusa_link.hpp (PrusaLink menu) (accessed November 7, 2026)
- Prusa Firmware Buddy 8.0.0 source, config_store/defaults.hpp (PrusaLink enabled by default) (accessed November 7, 2026)
- Prusa Firmware Buddy 8.0.0 source, lib/WUI/wui_api.h (PrusaLink user name) (accessed November 7, 2026)
- Prusa Firmware Buddy 8.0.0 source, lib/WUI/wui_api.cpp (prusa_printer_settings.ini keys) (accessed November 7, 2026)
- Prusa Firmware Buddy 8.0.0 source, src/gui/MItem_network.hpp (network menu labels) (accessed November 7, 2026)
- Prusa Firmware Buddy 8.0.0 source, src/gui/screen_menu_network_status.hpp (Network Status screen) (accessed November 7, 2026)
- Prusa Firmware Buddy 8.0.0 source, src/gui/screen_menu_network_settings.hpp (Wi-Fi and Ethernet menus) (accessed November 7, 2026)
- Prusa Firmware Buddy 8.0.0 source, src/resources/web/README.md (PrusaLink web interface) (accessed November 7, 2026)
- PrusaLink Web (GitHub), config.mini.js (file types and storage) (accessed November 7, 2026)
- PrusaLink Web (GitHub), spec/openapi.yaml (PrusaLink API) (accessed November 7, 2026)
- PrusaSlicer 2.9.7 source, src/libslic3r/PrintConfig.cpp (physical printer fields) (accessed November 7, 2026)
- PrusaSlicer 2.9.7 source, src/slic3r/GUI/Plater.cpp (Send G-code button) (accessed November 7, 2026)
- PrusaSlicer 2.9.7 source, src/slic3r/GUI/PrintHostDialogs.cpp (upload dialog) (accessed November 7, 2026)
- PrusaSlicer 2.9.7 source, src/slic3r/GUI/PhysicalPrinterDialog.cpp (Test button) (accessed November 7, 2026)